
If a dark blotch, bright spot, cluster of colored lines, or crack-like mark appeared after something pressed against your MacBook screen, the display may have been physically damaged. Common triggers include closing the lid on an object, leaving a camera or keyboard cover in place, carrying the MacBook in a tightly packed bag, or putting stress on the lid.
Do not press the mark or try to heat it away. While the MacBook still works, compare the symptom on plain backgrounds, take a photo, and back up important files. If the mark is spreading or normal lid movement causes flicker or blackouts, stop testing and arrange an inspection.
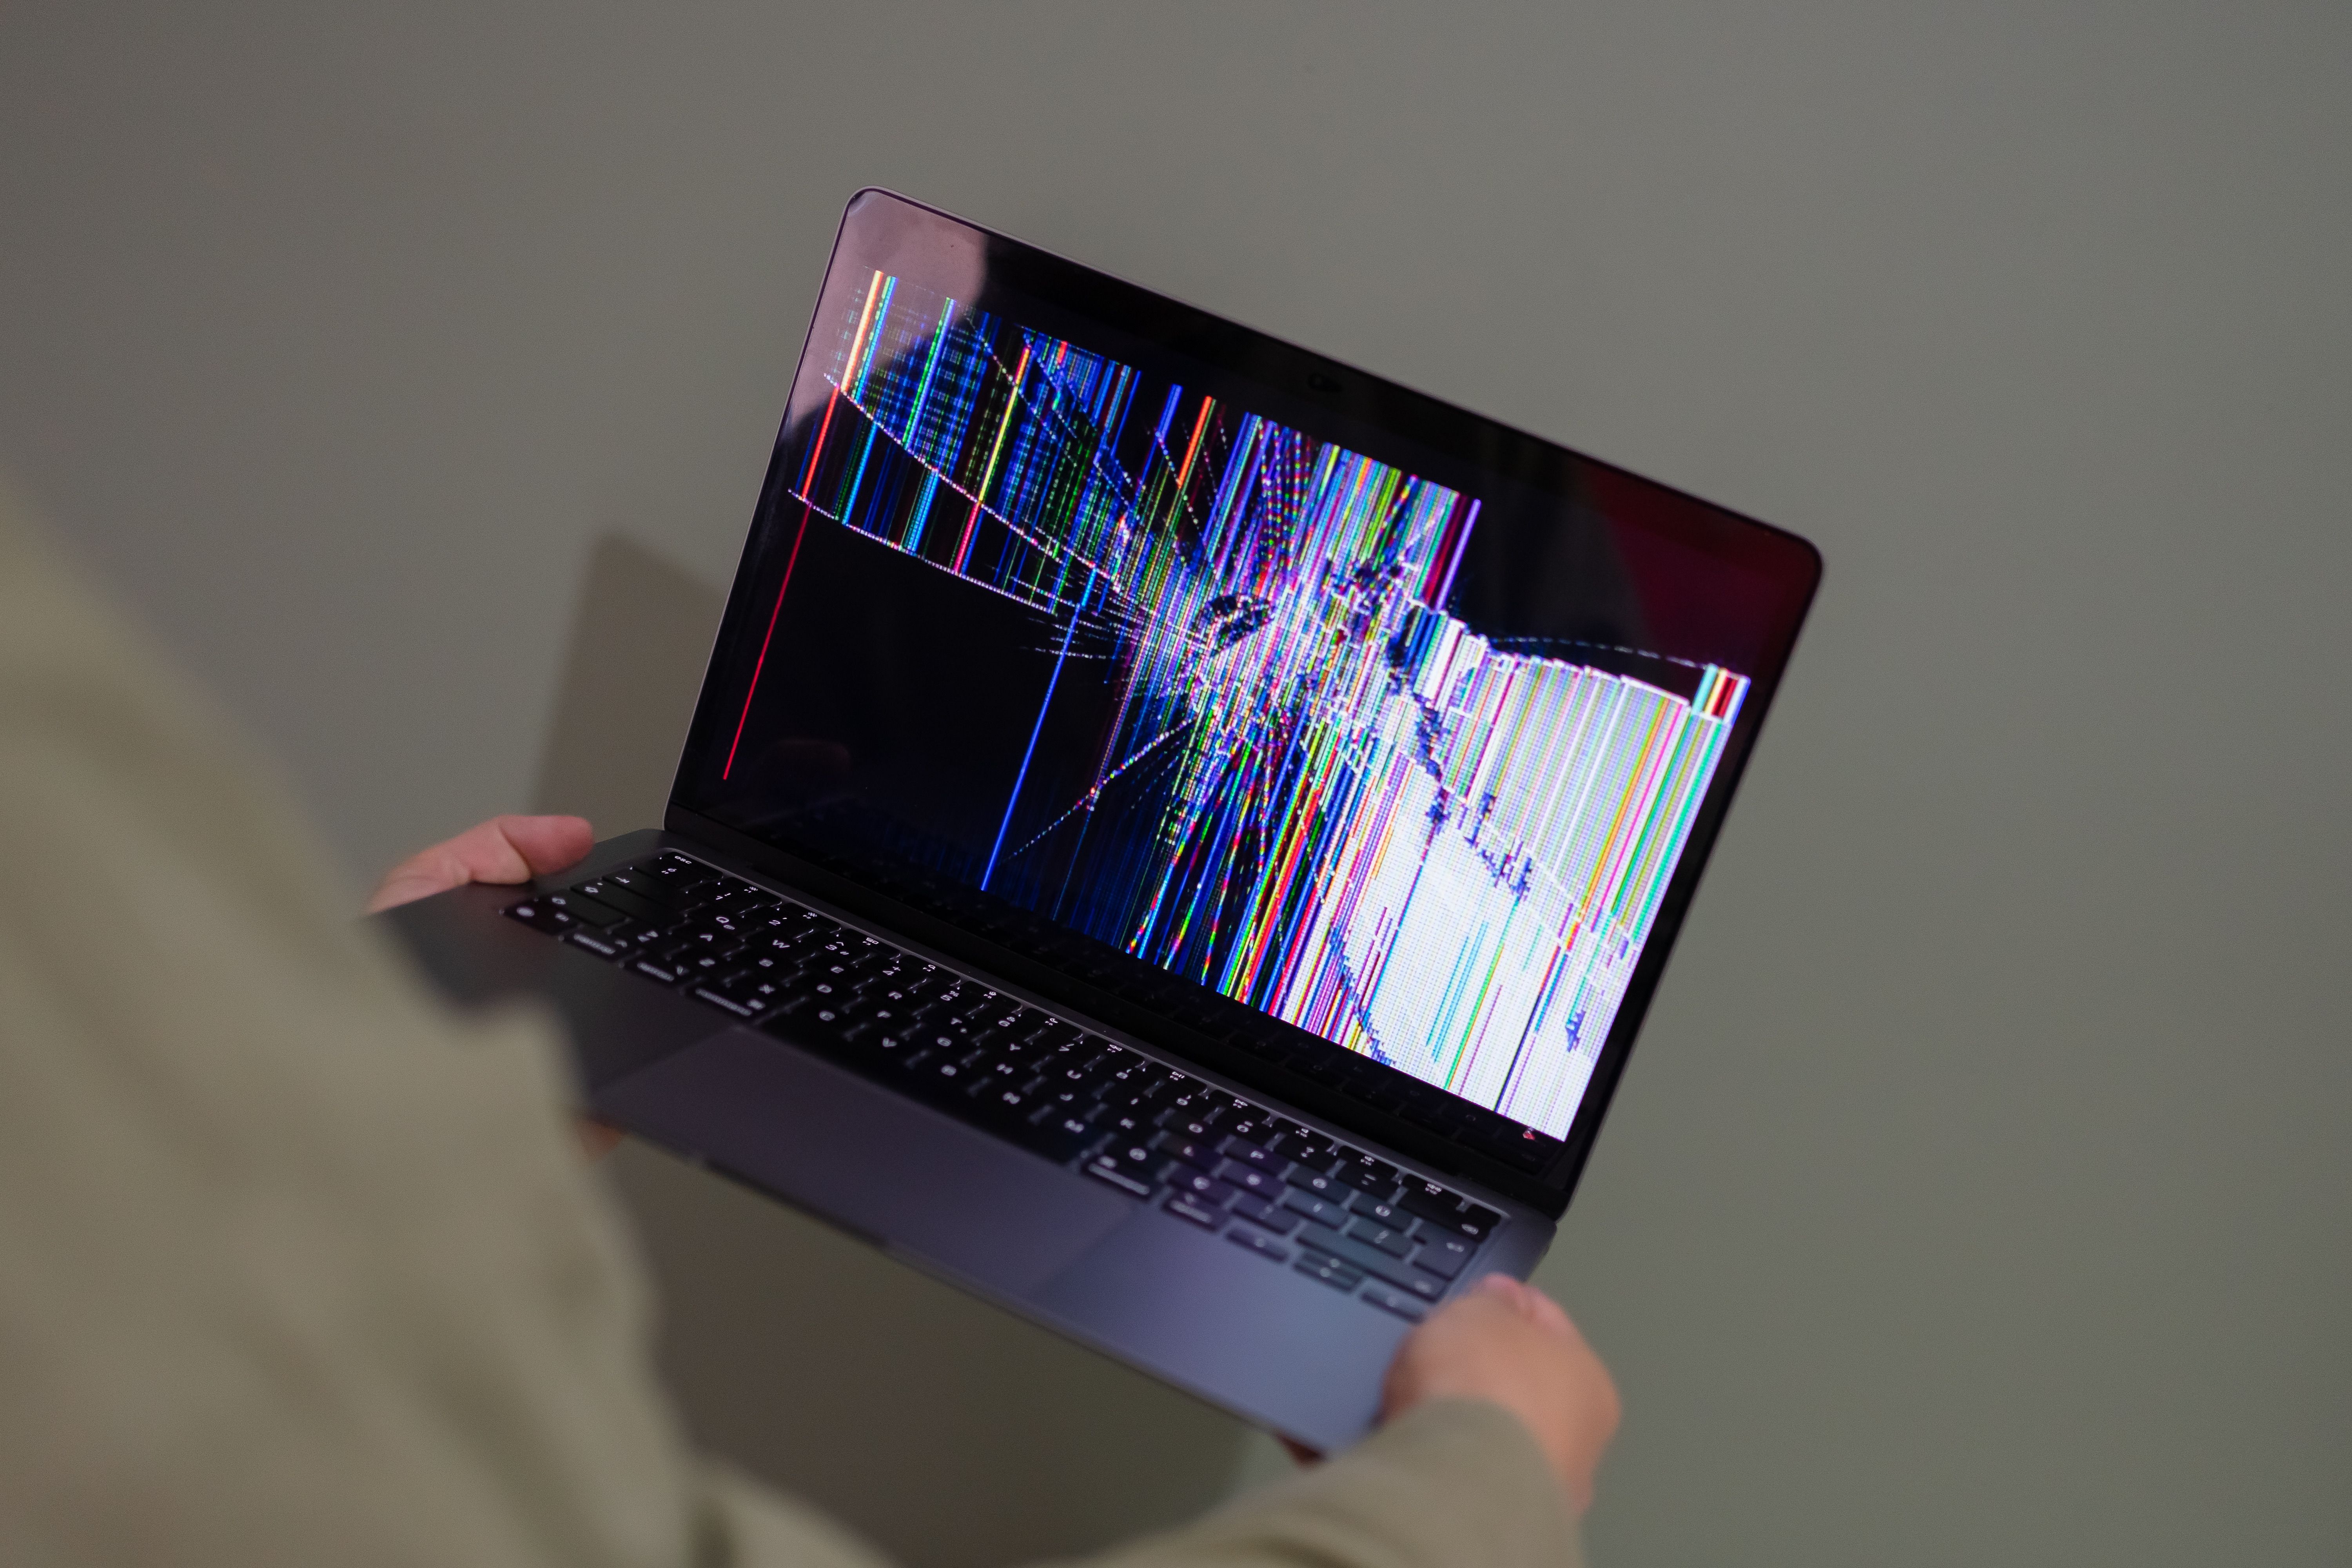
What MacBook screen pressure damage usually looks like
The pattern matters, but so does what happened before it appeared. Smooth outer glass does not rule out damage underneath.
- A dark blotch or bruise-like area that stays in the same place across plain backgrounds
- Colored vertical or horizontal lines that appeared after the lid closed or the MacBook was carried under pressure
- A bright fixed point near the place where a cover, cable, crumb, or other object may have touched the display
- An ink-like or crack-like pattern beneath glass that still feels smooth
- A mark that grows, spreads, or changes after another pressure event
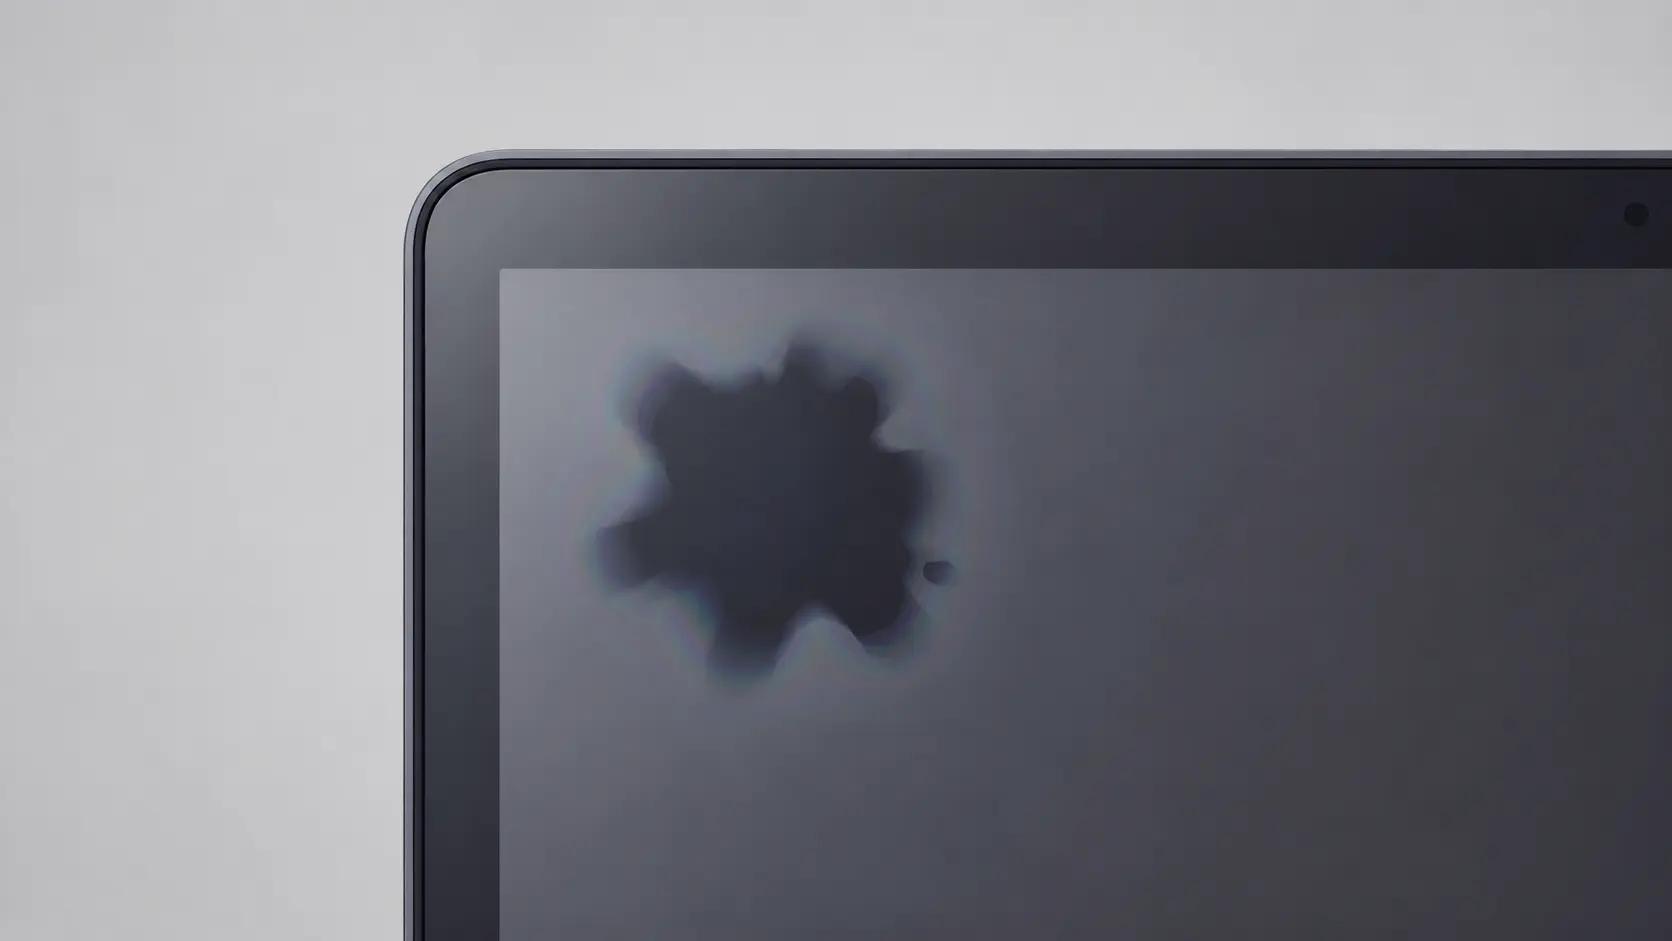
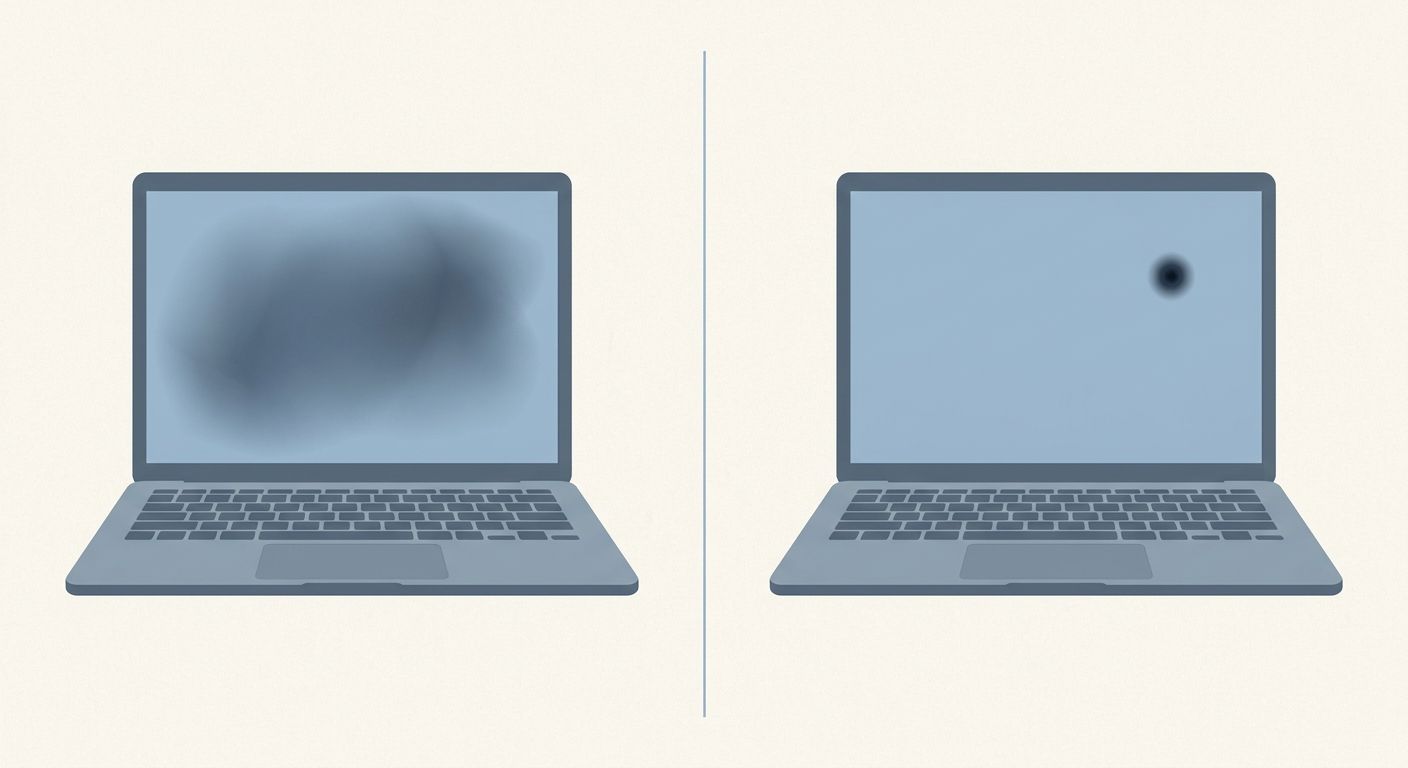
A single tiny dot points to a different problem than a broad blotch or cluster of lines. If the problem appears only in one app or disappears from a screenshot, do not assume the MacBook’s display itself is damaged.
What can cause pressure damage when the lid closes
There is very little space between the MacBook’s display and keyboard area when the lid is closed. A small object or raised cover can put concentrated pressure on the screen even when the outside of the lid looks normal.
- A camera cover, keyboard cover, or palm-rest cover left in place
- A cable, earbud, card, pen, crumb, or other object on the keyboard deck
- A packed backpack, tight sleeve, seat-back pocket, or hard case pressing against the lid
- Books, another laptop, or a heavy bag stacked on top of the closed MacBook
- A drop, bend, hinge event, or other force that changed the display without visibly breaking the glass
Apple specifically warns that camera, keyboard, and palm-rest covers can interfere with a Mac notebook’s display when it closes because the clearance is tight. Read Apple’s guidance on covers and Mac notebooks before closing the lid with any material in place.
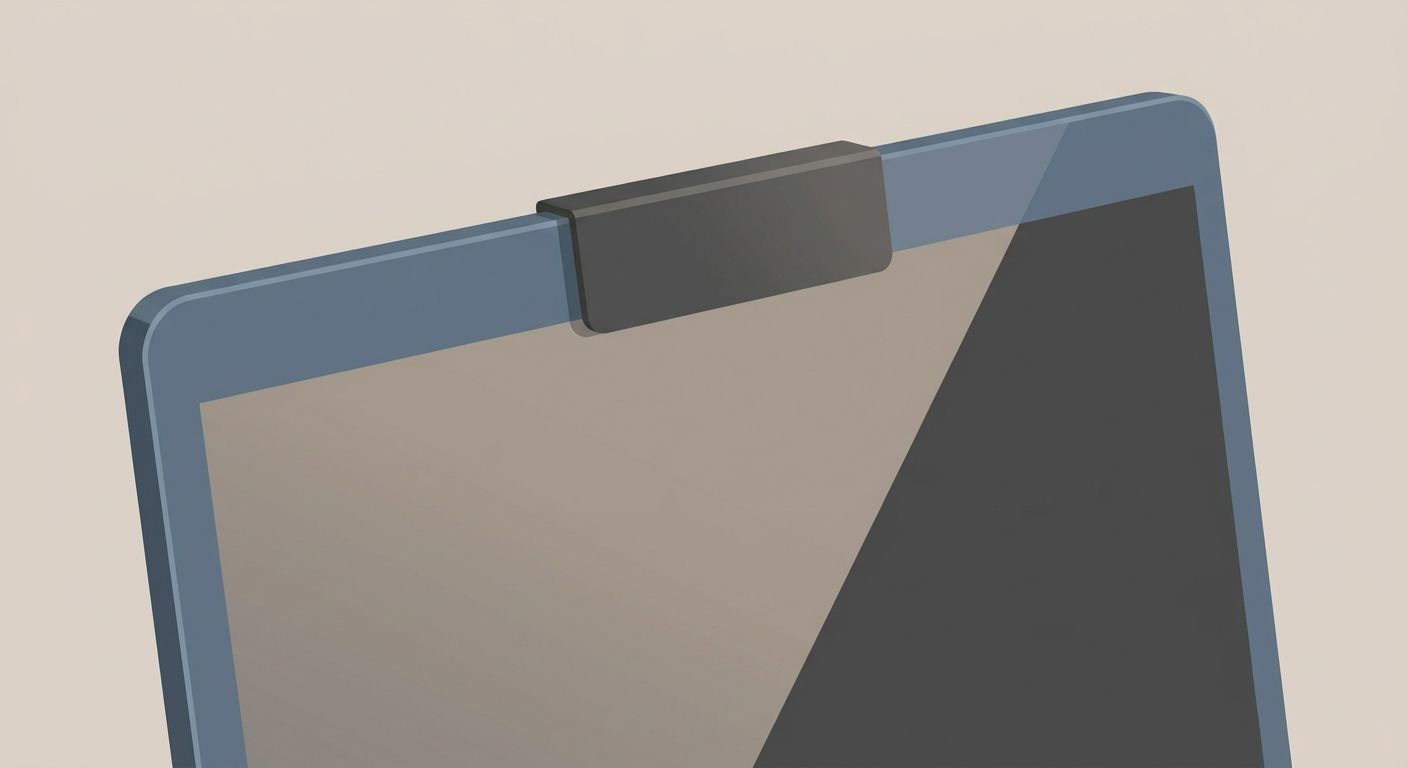
Apple’s guidance explains why even a thin cover or small object can put pressure on the display. It does not prove the exact cause of a particular mark or determine whether AppleCare+ or a warranty will cover it. Before contacting Apple or a repair provider, write down what was on, under, or pressing against the closed MacBook.
How to check the screen without making it worse
These checks can help you narrow down the problem, but they cannot repair the display. Skip anything that requires pressing, squeezing, heating, cooling, or repeatedly flexing it.
Safe MacBook screen checks
Step 1
Compare plain backgrounds
Use full-screen white, black, gray, red, green, and blue backgrounds. If the mark stays in the same place on every background, the problem is more likely to be in the MacBook’s display than in one app.
Step 2
Compare a screenshot
Take a screenshot and view it on another device if possible. A screenshot captures the image produced by the computer, not a physical defect that exists only on the screen. If the mark does not appear in the screenshot, the MacBook’s display itself becomes the more likely source. If the mark appears in the screenshot, the problem may involve software, graphics, or something beyond the screen.
Step 3
Compare an external display
Connect a known-good external display. If it looks normal while the MacBook screen still shows the mark, the MacBook’s display or its connection becomes more likely. If the same problem appears on the external display, the cause may be broader than damage to the MacBook’s screen.
Step 4
Observe normal lid movement once
Open the lid to a normal working angle and leave it there. If ordinary movement causes flicker, blackouts, color shifts, or new lines, stop trying to reproduce the behavior and protect access instead.
A normal screenshot or external display does not prove that the screen is the only part affected. It helps show whether the problem stays with the MacBook’s screen or appears wherever the computer sends the image.
Pressure damage or another screen problem?
Use the pattern to decide what to check next, but do not treat it as a final hardware diagnosis.
What you see
- Best next check
- Compare plain backgrounds, photograph it, and check whether it is spreading
What you see
- Best next check
- Run the a pixel test before calling it pressure damage
What you see
- Best next check
- Compare viewing angle and run the a backlight-bleed test
What you see
- Best next check
- Consider image retention or burn-in and run the a burn-in test
What you see
- Best next check
- Stop flexing the lid and have it inspected. The problem could involve the display cable, hinge area, or screen
What you see
- Best next check
- Look beyond the MacBook display. The problem may involve the graphics system or software instead
What you see
- Best next check
- Stop using the MacBook and follow the water-damage guidance before trying more tests
Swipe table to view all columns.Scroll table to view all columns.
| What you see | Best next check |
|---|---|
| A fixed dark blotch after bag or lid pressure | Compare plain backgrounds, photograph it, and check whether it is spreading |
| One tiny black, white, red, green, or blue dot | Run the a pixel test before calling it pressure damage |
| Edge or corner glow that is strongest on a black screen | Compare viewing angle and run the a backlight-bleed test |
| A ghosted logo, menu bar, or app shape | Consider image retention or burn-in and run the a burn-in test |
| Lines or flicker that change with lid angle | Stop flexing the lid and have it inspected. The problem could involve the display cable, hinge area, or screen |
| The same artifact appears in screenshots or on an external display | Look beyond the MacBook display. The problem may involve the graphics system or software instead |
| Moisture, residue, or corrosion is visible | Stop using the MacBook and follow the water-damage guidance before trying more tests |
For related symptom paths, compare [screen lines](/problems/screen-lines), [dark spots](/problems/dark-spots), and [cracked-screen symptoms](/problems/cracked-screen). A smooth outer surface does not by itself distinguish internal display damage from every other cause.
When to stop relying on the MacBook display
- The dark area is spreading
- New lines appear during ordinary use
- The display flickers or blacks out
- Normal lid movement changes the picture
- The screen becomes difficult to read
- The housing is bent or separating
- Liquid or corrosion is visible
If the MacBook still works, back up important files before contacting Apple or a repair provider. An external monitor can help you finish the backup or continue using the computer, but it will not repair the MacBook’s display.
What to document before repair or a claim
Take your photos and notes while the problem is still visible. A repair provider still needs to inspect the MacBook, but clear photos and notes make it easier to explain what happened and whether the problem has changed.
- The exact MacBook model
- The date the symptom first appeared
- What was inside or on top of the closed MacBook
- Whether a camera, keyboard, or palm-rest cover was installed
- The display pattern on plain backgrounds
- Whether the symptom appears in a screenshot
- Whether an external display is clear
- Whether normal lid movement changes it
- Photos of the display and exterior
If you need a short checklist, use our guide to documenting damage before service.
Can MacBook pressure damage be repaired?
A browser test, restart, macOS update, or display setting cannot repair physical damage to the screen. If the display is damaged, the usual solution is professional display service or replacement. The exact repair depends on the MacBook model and what the inspection finds.
Get the estimate before deciding. Compare it with the MacBook’s age, battery and keyboard condition, other damage, current value, and how long you expect to keep using it. Our [repair-versus-replacement guide](/repairs/repair-vs-replace) can help you weigh those factors.

Apple repair and AppleCare+
Apple or an Apple Authorized Service Provider needs to inspect the MacBook before providing a personalized estimate. Authorized providers may set their own service fees, so a symptom description alone cannot determine the price.
AppleCare+ may include accidental-damage protection when the plan, incident, and service terms apply. Check the current AppleCare+ terms for Mac before assuming the repair will be covered.
Situation
- What to verify
- Back up, avoid more lid pressure, and document the mark before deciding
Situation
- What to verify
- Use an external display if needed, back up, and arrange inspection
Situation
- What to verify
- Ask Apple to classify the damage and confirm the current service fee for your model and plan
Situation
- What to verify
- Request an estimate, then compare the repair cost with the MacBook’s current value
Situation
- What to verify
- Mention every symptom because the inspection and coverage discussion may change
Swipe table to view all columns.Scroll table to view all columns.
| Situation | What to verify |
|---|---|
| The display still works and looks stable | Back up, avoid more lid pressure, and document the mark before deciding |
| The display is worsening or hard to read | Use an external display if needed, back up, and arrange inspection |
| You have AppleCare+ | Ask Apple to classify the damage and confirm the current service fee for your model and plan |
| You do not have AppleCare+ | Request an estimate, then compare the repair cost with the MacBook’s current value |
| There is also hinge, enclosure, or liquid damage | Mention every symptom because the inspection and coverage discussion may change |
Apple lists different fees for screen or external-enclosure damage and for other accidental damage. The amount depends on the MacBook model, your plan, and Apple’s current terms. Do not assume one published fee is the price you will pay.
If the MacBook still runs but its display is unreliable, see how to use a laptop with a broken screen on a monitor.
Choose the next check for your symptom
If lines are the main problem, start with the guide to screen lines.
If you see a black blotch or bruise-like patch, compare it with the dark-spots guide.
If the image looks cracked beneath glass that still feels smooth, see how internal screen damage differs from cracked glass.
If you see moisture, residue, or corrosion, follow the MacBook water-damage guidance.
If the repair estimate is high or the MacBook is older, compare the cost of repair and replacement.
For a Windows laptop, Chromebook, or another non-Apple device, use the broader laptop pressure-damage guide.
Common questions
What does MacBook screen pressure damage look like?
It can look like a fixed dark blotch, bruise-like patch, bright pressure point, cluster of colored lines, or internal-looking crack that appeared after pressure, a cover, or something trapped between the screen and keyboard.
Why did lines appear after closing the MacBook lid?
Lines that appear after closing the lid can point to damage in the display, its cable, or the hinge area, especially when they stay fixed on the MacBook screen. Compare a plain background and external display, then stop flexing the lid.
Can a camera cover or keyboard cover damage a MacBook screen?
Yes. Apple warns that there is very little space between the display and keyboard area and advises removing camera, keyboard, and palm-rest covers before closing a Mac notebook.
How can I tell pressure damage from a dead pixel or dark spot?
A dead pixel is usually one tiny fixed dot. Pressure damage is more likely to appear as a larger blotch, bright spot, internal-looking crack, or group of lines after something pressed against the screen.
Can software fix MacBook screen pressure damage?
No. Software can help you compare the symptom, but it cannot repair a physically damaged screen.
Should I keep using a MacBook with screen pressure damage?
Back up your files and avoid more lid pressure. If the display is spreading, flickering, blacking out, or becoming difficult to read, use an external display if needed and arrange inspection.
Does AppleCare+ or the warranty cover MacBook pressure damage?
AppleCare+ may cover accidental damage subject to the current plan terms and service fee. Apple’s standard warranty generally covers manufacturing defects, not accidental damage. Apple or an authorized provider must inspect the MacBook.
What should I document before arranging repair?
Photograph the display on a plain background, note when the symptom appeared and what happened beforehand, record whether a screenshot or external display shows it, and keep any support or repair documentation.
Related guides
Start here if you are not sure whether the problem is pressure damage, another screen symptom, or a next-step issue.
Open this if vertical, horizontal, purple, or other colored lines are the main problem.
Open this if the main problem is a black blotch, dark patch, or bruise-like area.
Open this if the image looks damaged beneath glass that still feels smooth.
Use this before contacting Apple, a repair provider, or an insurer.
Open this if the MacBook still runs but its display is no longer reliable.
Open this if the repair estimate is high or the MacBook is old enough that replacement may make more sense.
Use the broader laptop guide for Windows laptops, Chromebooks, and other non-Apple devices.
Sources
- Using a camera cover, palm rest, or keyboard cover on a Mac notebook
Apple Support · Primary U.S. Apple guidance on tight Mac notebook clearances and removing covers before closing the display. Checked September 28, 2026.
- Don’t close your MacBook, MacBook Air, or MacBook Pro with a cover over the camera
Apple Support · Primary U.S. Apple camera-cover guidance. Checked September 28, 2026.
- Apple Service and Repair for Mac Laptops
Apple Support · Current U.S. repair inspection, estimate, Apple Authorized Service Provider, and service-fee context. Checked September 28, 2026.
- AppleCare+ for Mac Terms and Conditions
Apple Legal · U.S. terms for accidental damage from handling, exclusions, and service events. Checked September 28, 2026.
- AppleCare Service Fees and Deductibles
Apple Legal · Current U.S. service-fee context. Applicable fees depend on the model, plan, and current terms. Checked September 28, 2026.