Start with the pattern and the laptop type
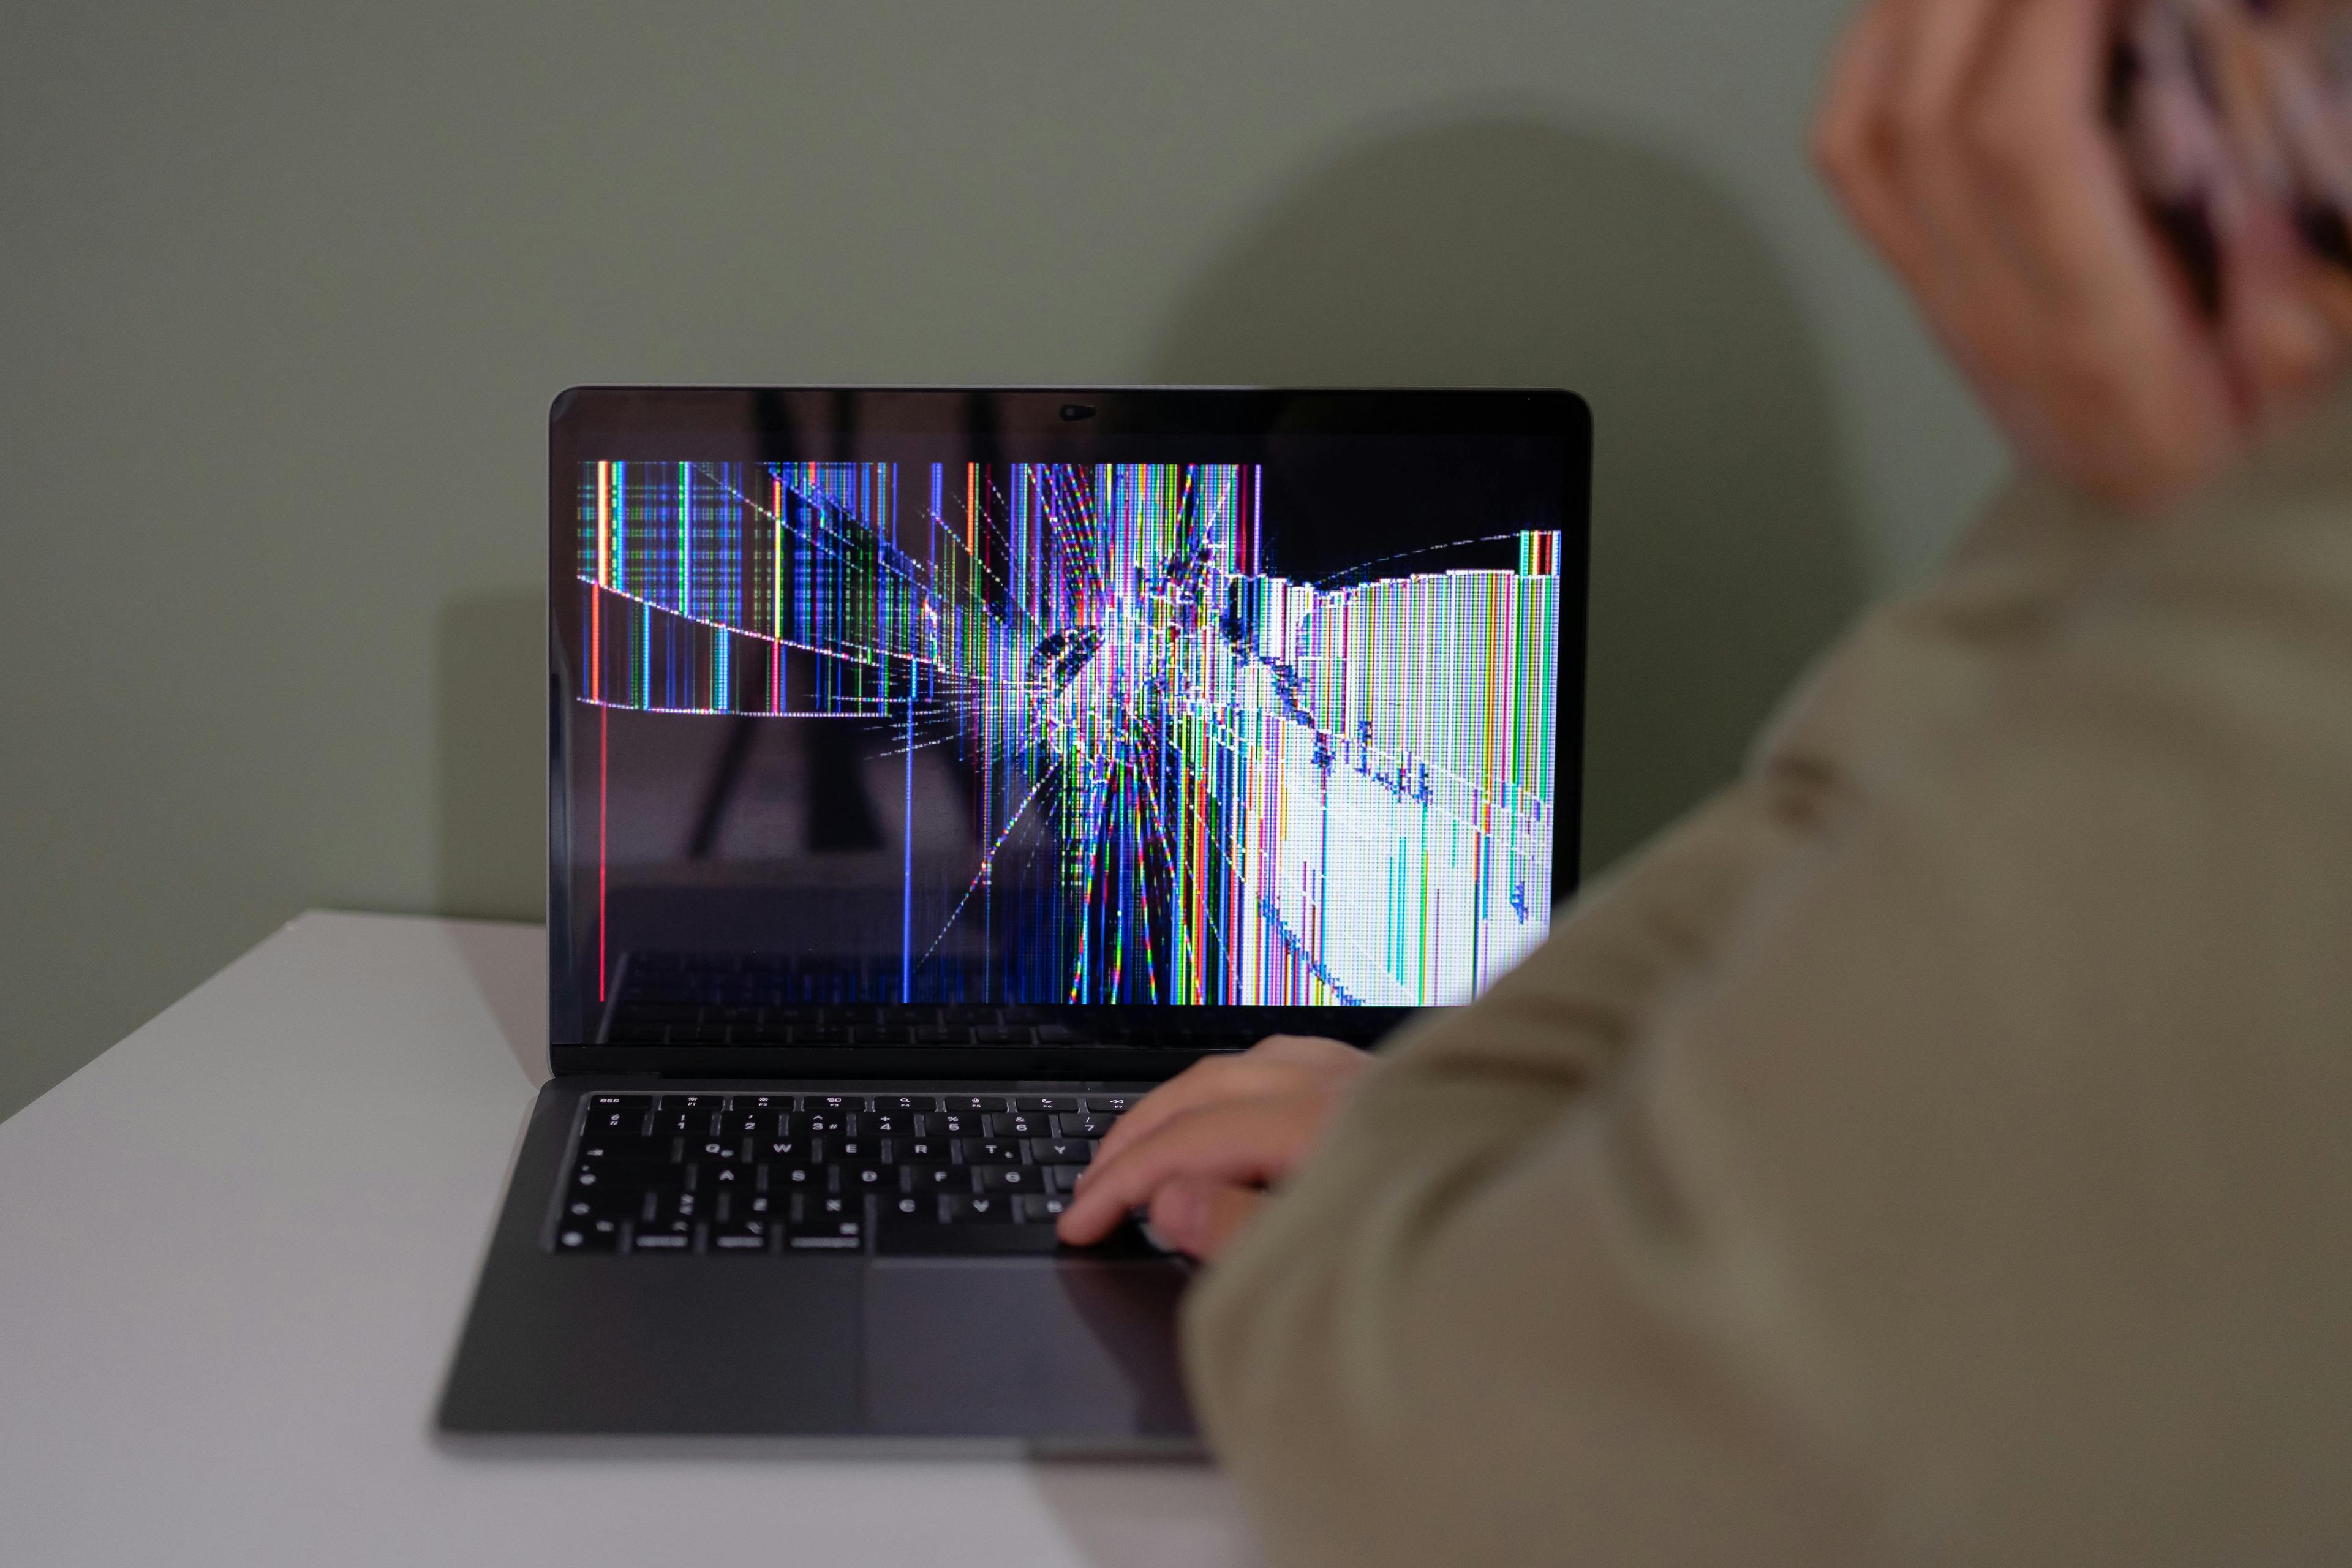
Laptop screen pressure damage is more plausible when a fixed black blotch, bruise-like mark, bright pressure spot, internal-looking crack, or colored line cluster appears after bag compression, lid pressure, a tight sleeve, a small closed-lid object, or chassis flex.
Use the display only long enough to compare the mark on plain backgrounds, back up what matters, and decide whether to use an external monitor, get a repair quote, or compare replacement. Do not press, flex, heat, chill, or run repeated software fixes on a physical-looking mark.
What changes the next move
- A single pixel, edge glow, retained app shape, and fixed pressure blotch belong to different checks.
- A clean external monitor can keep the laptop usable, but it does not identify the failed part.
- Budget laptops and Chromebooks often reach the repair-vs-replace line sooner than newer premium laptops.
- Gaming, OLED, touch-screen, and 2-in-1 laptops can have repair quotes that make the panel type matter.
- MacBook camera-cover, keyboard-cover, AppleCare, and lid-clearance questions belong on the MacBook pressure guide.
Pressure signs to check first
Use a white screen, a black screen, and a neutral gray screen. Keep the lid angle still while you check. You are looking for whether the mark stays fixed to the built-in panel or follows an app, screenshot, wallpaper, external display, or surface smudge.
What you see
- Why it matters
- A larger fixed dark patch can point to panel or display-stack damage
- What to check next
- Check whether it is spreading. If it is, back up and move to an external monitor. Compare dark spots.
What you see
- Why it matters
- A fixed line cluster can involve the panel, cable path, or display assembly
- What to check next
- Compare with lines after pressure and test a clean external monitor.
What you see
- Why it matters
- A small pressure point may affect the backlight, diffuser, or panel layers
- What to check next
- Do not press or massage it. Look for a recent lid/object or bag-pressure event.
What you see
- Why it matters
- Damage may be inside the LCD/display stack rather than on the outer plastic or glass
- What to check next
- Compare internal screen damage vs cracked glass.
What you see
- Why it matters
- The laptop may still output a clean image while the built-in display path is damaged
- What to check next
- Use the laptop through an external monitor if visibility is getting worse, then get a quote.
Swipe table to view all columns.Scroll table to view all columns.
| What you see | Why it matters | What to check next |
|---|---|---|
| Black spot, black blotch, or ink-like bruise after backpack, sleeve, lid, or object pressure | A larger fixed dark patch can point to panel or display-stack damage | Check whether it is spreading. If it is, back up and move to an external monitor. Compare dark spots. |
| Colored, purple, vertical, or horizontal lines after pressure | A fixed line cluster can involve the panel, cable path, or display assembly | Compare with lines after pressure and test a clean external monitor. |
| Bright white spot or local pressure mark | A small pressure point may affect the backlight, diffuser, or panel layers | Do not press or massage it. Look for a recent lid/object or bag-pressure event. |
| Crack-like shape under a smooth outer surface | Damage may be inside the LCD/display stack rather than on the outer plastic or glass | Compare internal screen damage vs cracked glass. |
| Built-in display has marks, but an external monitor looks clean | The laptop may still output a clean image while the built-in display path is damaged | Use the laptop through an external monitor if visibility is getting worse, then get a quote. |
Pressure damage or a look-alike?
Do this before assuming the screen is ruined. Some display problems are narrower than pressure damage; others look minor but need a hardware-first path because they appeared right after pressure.
What you see
- More likely comparison
- Dead, stuck, or hot pixel
- Safer next check
- Run the Pixel Test. A single dot is not the same as a pressure bruise.
What you see
- More likely comparison
- Backlight bleed, IPS glow, or panel uniformity
- Safer next check
- Run the Backlight Bleed Test, especially if the glow is strongest near the bezel.
What you see
- More likely comparison
- Burn-in or image retention
- Safer next check
- Run the Burn-In Test. Pressure damage usually has a physical event history and a less UI-shaped mark.
What you see
- More likely comparison
- Cable, hinge, panel, or mixed display-path issue
- Safer next check
- Stop repeated lid-flex testing. Use an external monitor and let a repair provider inspect the display path.
What you see
- More likely comparison
- Software, driver, GPU, output, or system behavior may be involved
- Safer next check
- Restart once, check the external display setup, and use manufacturer or Windows display support before calling it panel pressure damage.
What you see
- More likely comparison
- Surface residue, smudge, protector mark, or contamination
- Safer next check
- Clean with the manufacturer-recommended method. Do not press into the panel to test it.
Swipe table to view all columns.Scroll table to view all columns.
| What you see | More likely comparison | Safer next check |
|---|---|---|
| One tiny black, white, red, green, or blue dot | Dead, stuck, or hot pixel | Run the Pixel Test. A single dot is not the same as a pressure bruise. |
| Glow from an edge or corner on a black screen | Backlight bleed, IPS glow, or panel uniformity | Run the Backlight Bleed Test, especially if the glow is strongest near the bezel. |
| Faint logo, taskbar, browser bar, or app shape after switching content | Burn-in or image retention | Run the Burn-In Test. Pressure damage usually has a physical event history and a less UI-shaped mark. |
| Lines or flicker change when you move the lid | Cable, hinge, panel, or mixed display-path issue | Stop repeated lid-flex testing. Use an external monitor and let a repair provider inspect the display path. |
| The mark appears in screenshots or on the external monitor too | Software, driver, GPU, output, or system behavior may be involved | Restart once, check the external display setup, and use manufacturer or Windows display support before calling it panel pressure damage. |
| The mark wipes away or changes after gentle cleaning | Surface residue, smudge, protector mark, or contamination | Clean with the manufacturer-recommended method. Do not press into the panel to test it. |
What happened before the mark appeared
The visible symptom matters, but the recent physical story often changes the priority. Look at the day or two before the mark appeared.
Backpack, work-bag, or travel compression. Books, chargers, water bottles, another laptop, an airplane seat pocket, or a crowded bag can press through the closed lid.
Closing the lid on a small object. An earbud, pen cap, charger tip, cable end, stylus, crumb, or debris can create a concentrated pressure point against the display.
Weight on the closed lid. Sitting on the laptop, stacking a bag on top of it, or carrying it under pressure can damage display layers even if the lid still looks flat.
Tight sleeve, hard shell, or case pressure. A case that squeezes the bezel or lid can turn normal transport into steady pressure, especially if the laptop is thin.
Hinge, bezel, or chassis flex. Picking up a laptop by one corner, opening the lid from the side, or twisting the chassis can stress the display path.
Laptop type. A school Chromebook, budget Windows laptop, gaming laptop, OLED laptop, touch-screen laptop, or 2-in-1 may have a different repair threshold even when the visible pressure pattern looks similar.
Choose the next move
More testing is useful only when it changes the decision. If the pattern already looks physical and is getting worse, protect access before continuing.
Safe order of moves
Step 1
If the pattern is narrow, run the narrow test first
Use Pixel Test for one dot, Backlight Bleed Test for edge or corner glow, and Burn-In Test for a retained app shape. Do not run long software checks for a fixed black blotch, internal crack, or line cluster after pressure.
Step 2
If the built-in display is unreliable, protect access
Back up files while you can still see enough to work. If the external display is clean, use it to finish urgent work before the built-in panel gets harder to read.
Step 3
If it looks physical, get a repair quote
A repair provider may need to inspect the panel, cable path, hinge area, and display assembly. ScreenDetect can help you compare visible patterns, but it cannot identify the exact failed part.
Step 4
If the quote is high, compare replacement
Compare the screen quote with the laptop's age, battery condition, hinge condition, storage needs, and current value. This matters sooner on Chromebooks and budget laptops; it can also matter on gaming, OLED, touch-screen, and 2-in-1 laptops because the panel or touch layer can be more expensive.
Step 5
If support, school IT, warranty, or insurance is involved, save one clean record
Take one clear photo while the pattern is visible, note what happened before it appeared, and keep the repair quote or support ticket. Do not create extra "evidence" by pressing or flexing the screen.
Repair, replacement, and support terms
Manufacturer support pages can help you understand the category of problem, but they do not decide the exact outcome for your laptop. HP and Sony show that lines, black spots, blotches, cracks, and color distortion can be treated as physical LCD/display damage. Dell repair guidance makes the coverage point clearer: accidental LCD damage may be repaired under the right plan, but without applicable accidental damage coverage the owner may be responsible for the repair.
That is why the repair quote matters. A screen replacement can be reasonable on a newer work laptop, gaming laptop, premium ultrabook, OLED laptop, or touch-screen 2-in-1. It may be harder to justify on an older laptop, a low-cost Chromebook, a budget Windows laptop, or a machine that also has weak battery life, loose hinges, or other damage.
What ScreenDetect can and cannot decide
ScreenDetect can help you compare visible patterns, choose the right screen test, avoid unsafe pressure checks, and decide whether the next move is external monitor use, backup, repair quote, or replacement comparison.
ScreenDetect cannot inspect the laptop, confirm the exact cause, decide warranty coverage, approve insurance, or repair physical panel damage through a browser test. A repair provider, manufacturer, school IT department, warranty provider, or insurance provider may need to inspect the device and apply current terms.
Questions laptop owners usually ask
What does laptop screen pressure damage look like?
It can look like a fixed black spot, black blotch, bruise-like mark, bright pressure spot, internal-looking crack, or colored line cluster after bag pressure, lid pressure, a tight sleeve, or a closed-lid object.
Can laptop screen pressure damage be fixed?
A browser test cannot repair a physically damaged panel. If the mark is a fixed blotch, line cluster, crack-like shape, or spreading area, the realistic path is usually a repair quote, support inspection, or replacement comparison.
Why does my laptop screen have lines after closing it?
Lines after closing the lid can happen when the lid closed on debris, a cable end, an earbud, a pen cap, or pressure through the lid. If the lines stay fixed on the built-in display, treat panel or display-path damage as a serious possibility.
Is a black spot after backpack pressure physical damage?
It can be. A black spot or blotch after backpack compression is more concerning when it stays fixed across plain backgrounds or grows over time. Back up and avoid pressing the screen to test it.
How do I tell pressure damage from a dead pixel?
A dead or stuck pixel is usually one tiny point. Pressure damage is usually larger: a blotch, bruise, bright mark, internal-looking crack, or line cluster. Use Pixel Test if the issue is only one dot.
How do I tell pressure damage from backlight bleed?
Backlight bleed usually appears as edge or corner glow on dark screens. Pressure damage is more likely when a shaped mark, spot, or line cluster appeared after a physical pressure event.
What if an external monitor works but the laptop screen has lines?
A clean external monitor usually points away from the system image output and toward the built-in display panel, cable path, hinge area, or display assembly. It does not identify the exact failed part.
Can I keep using the laptop if the screen still works?
Use it only as much as needed to back up, document the symptom, or move work to an external display. If the mark is spreading or normal lid movement changes the image, stop testing the built-in display.
Should I repair my laptop screen or replace the laptop?
Get a quote first, then compare it with the laptop's age, current value, battery condition, hinge condition, and panel type. Chromebooks and budget laptops often reach the replacement decision sooner than newer premium, gaming, OLED, or touch-screen laptops.
Is this different on a MacBook?
The visible patterns can be similar, but MacBooks have Apple-specific context around camera covers, keyboard covers, lid clearance, AppleCare, and Apple repair terms. Use the MacBook pressure damage guide for those details.
Useful next pages
Use this when you need the broader pressure-damage map across phones, tablets, laptops, monitors, and device-specific routes.
Use this if camera covers, keyboard covers, AppleCare, Apple repair terms, or MacBook lid-clearance guidance matters.
Best when vertical, horizontal, purple, or colored lines are the clearest symptom after pressure.
Use this when the main symptom is a black spot, black blotch, bruise-like mark, or dark patch.
Use this when the screen looks cracked or damaged below a smooth outer surface.
Use this when the laptop still runs but the built-in display is no longer reliable enough for normal work.
Use this when you need the broader repairability answer before deciding what repair path fits.
Use this when the repair quote may be high relative to the laptop's current value.
Sources checked June 3, 2026
- HP PCs and Monitors - Damaged screen, LCD, or display
HP Support · Manufacturer guidance on lines, black spots, physical damage examples, external monitor use, and repair context. Checked June 3, 2026.
- The notebook LCD screen has lines, blotches, bleeding, cracks, moisture or color distortion
Sony Support · Manufacturer support page describing notebook LCD blotches, bleeding, cracks, color distortion, and physical damage examples. Checked June 3, 2026.
- Repair Options for Cracked and Broken LCD Screens on Dell Laptops, Tablets, and Phones
Dell Support · Repair-path and accidental-damage coverage context for cracked or broken LCD screens. Checked June 3, 2026.
- Dell Display Pixel Guidelines
Dell Support · Pixel-defect definitions, screen-check guidance, and warning against pressure or unsupported pixel-fixing attempts. Checked June 3, 2026.
- Troubleshoot external monitor connections in Windows
Microsoft Support · Official Windows external-monitor troubleshooting context for checking cables, display modes, drivers, and external-display behavior. Checked June 3, 2026.